

How to customize polo shirt
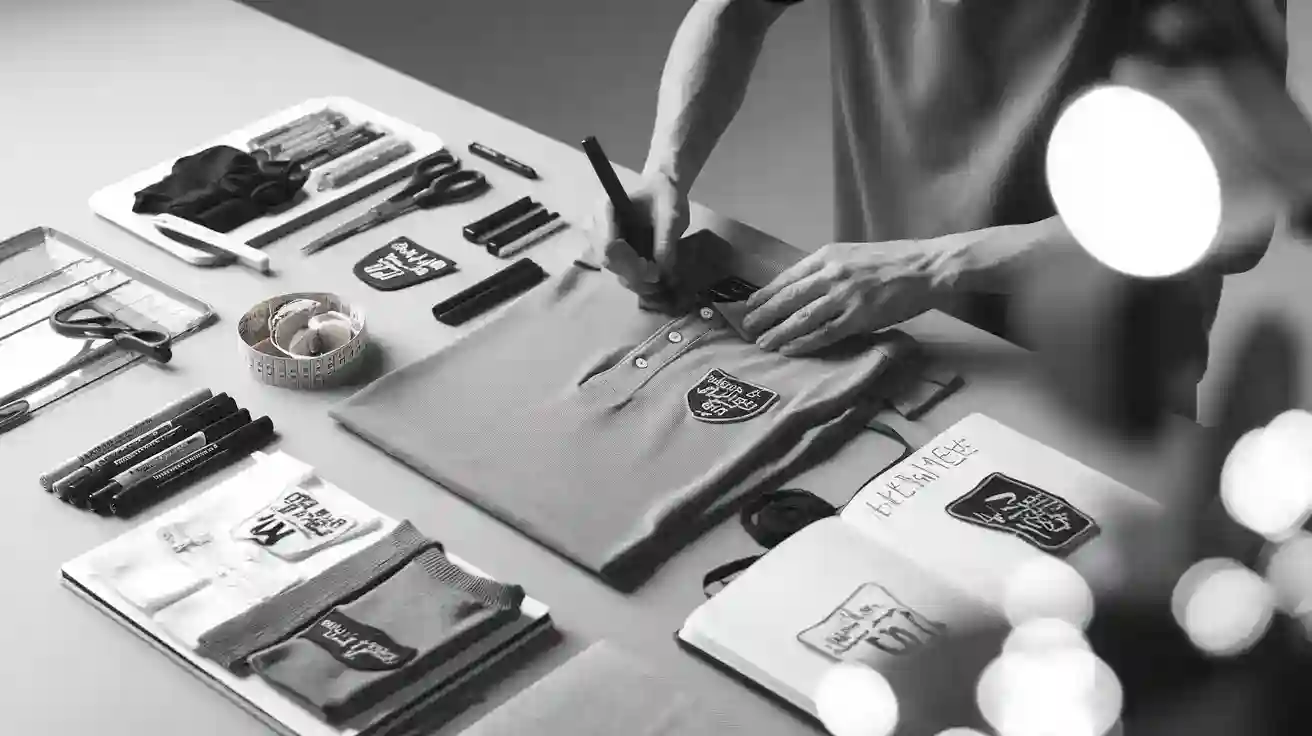
When I want to customize polo shirt, I start by choosing the right shirt style and fabric that fits my needs. Popular techniques like embroidery, heat transfer, and screen printing allow me to add logos or text for a personal touch. Recent market data shows that high-quality customization helps brands stand out and meet customer preferences. I use online design tools to preview my ideas, making sure the shirt matches my business, team, or personal style.
Key Takeaways
Choose the right fabric based on comfort and purpose, like cotton for everyday wear or polyester for sports.
Pick a fit that suits your style and body type, such as classic for comfort or slim for a modern look.
Select features like moisture-wicking or UV protection to match your activity and environment.
Use embroidery for durable, professional logos and text that last through many washes.
Try heat transfer for colorful, detailed designs and small custom orders with soft finishes.
Screen printing works best for large orders with bold, simple designs and fast production.
Use online design tools to upload logos, add text, and preview your shirt before ordering.
Follow care tips like washing inside out and air drying to keep your custom polo looking new longer.
Choose Polo Shirt
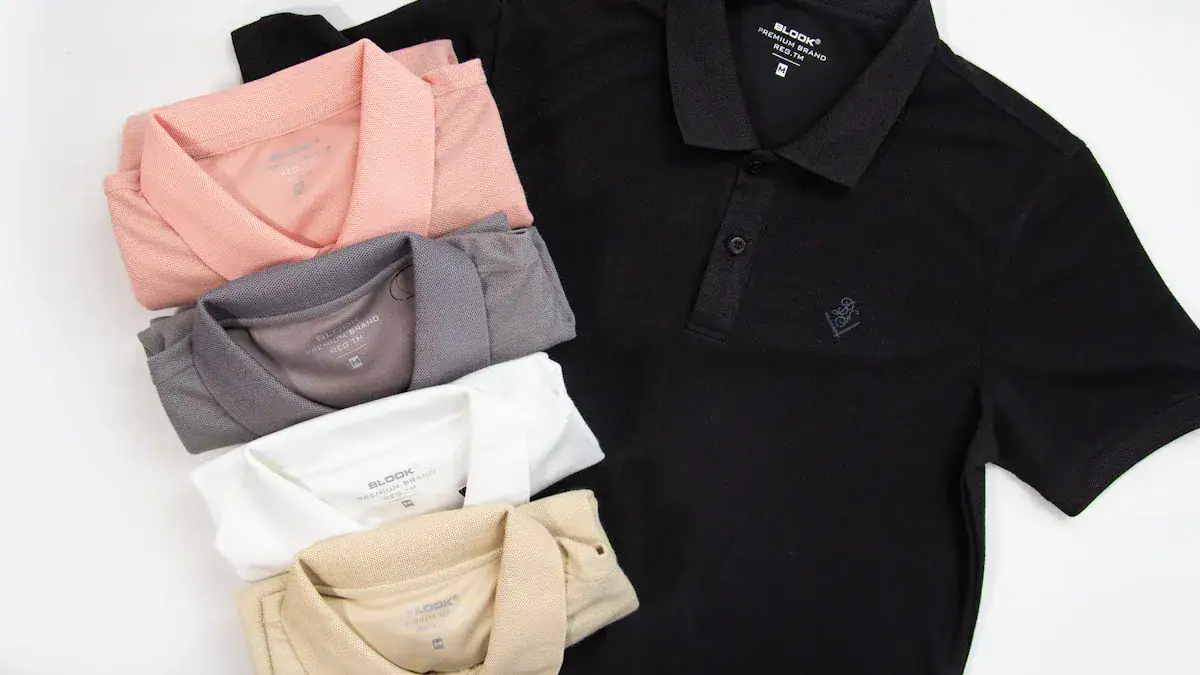
When I start customizing a polo shirt, I always focus on three main areas: fabric, fit, and features. These choices shape how the shirt feels, looks, and performs for its intended use—whether for business, sports, or personal style.
Fabric Options
Choosing the right fabric is the first step. I match the fabric to the shirt’s purpose and the wearer’s comfort needs. Here’s a quick comparison:
Fabric Type | Properties & Benefits | Best For |
|---|---|---|
100% Cotton | Soft, breathable, comfortable, easy to embroider, absorbs moisture | Everyday wear, corporate, casual |
100% Polyester | Durable, moisture-wicking, quick-drying, wrinkle-resistant, stain-resistant | Sports, uniforms, outdoor work |
Cotton-Poly Blend | Balanced comfort and durability, less shrinkage, easy care | Versatile, team uniforms |
Performance Fabrics | Moisture-wicking, odor control, UV protection, stretch | Active wear, outdoor, sports |
Cotton
I like cotton for its natural softness and breathability. It feels comfortable against my skin and works well for casual or office settings. However, cotton absorbs moisture and can stay damp, so I avoid it for intense activities or humid environments.
Polyester
Polyester stands out for its durability and moisture-wicking ability. I choose polyester polos when I need a shirt that dries quickly and resists wrinkles. This fabric is perfect for sports, outdoor work, or any situation where I want to stay dry and look sharp.
Blends
Blended fabrics, like cotton-polyester, give me the best of both worlds. These shirts feel soft but also hold up well after many washes. They resist shrinking and wrinkling, making them a practical choice for team uniforms or frequent use.
Tip: I always consider the activity level and care preferences before picking a fabric. For example, I pick performance fabrics with stretch for sports, while I choose piqué knit for a more structured, formal look.
Fit & Size
Getting the right fit makes a huge difference in comfort and appearance. I check size charts and, if possible, try on samples before ordering in bulk. Here’s how I break down the options:
Classic
Classic fit polos give me a relaxed, roomy feel. They suit most body types and work well for uniforms or casual wear. I find them comfortable for all-day use.
Slim
Slim fit polos offer a tailored look. I choose this style when I want a modern, close-to-the-body silhouette. It’s great for fashion-forward teams or when I want a sharp, professional image.
Unisex
Unisex polos provide flexibility for group orders. They fit a wide range of body shapes, making them ideal for mixed teams or events. I make sure to offer a variety of sizes so everyone feels comfortable.
I always remember that women’s polos have special cuts for a better fit—narrower shoulders, shorter sleeves, and curved hems. This attention to detail helps everyone feel confident and valued.
Features
The right features can boost both comfort and performance. I look for these key elements:
Collar
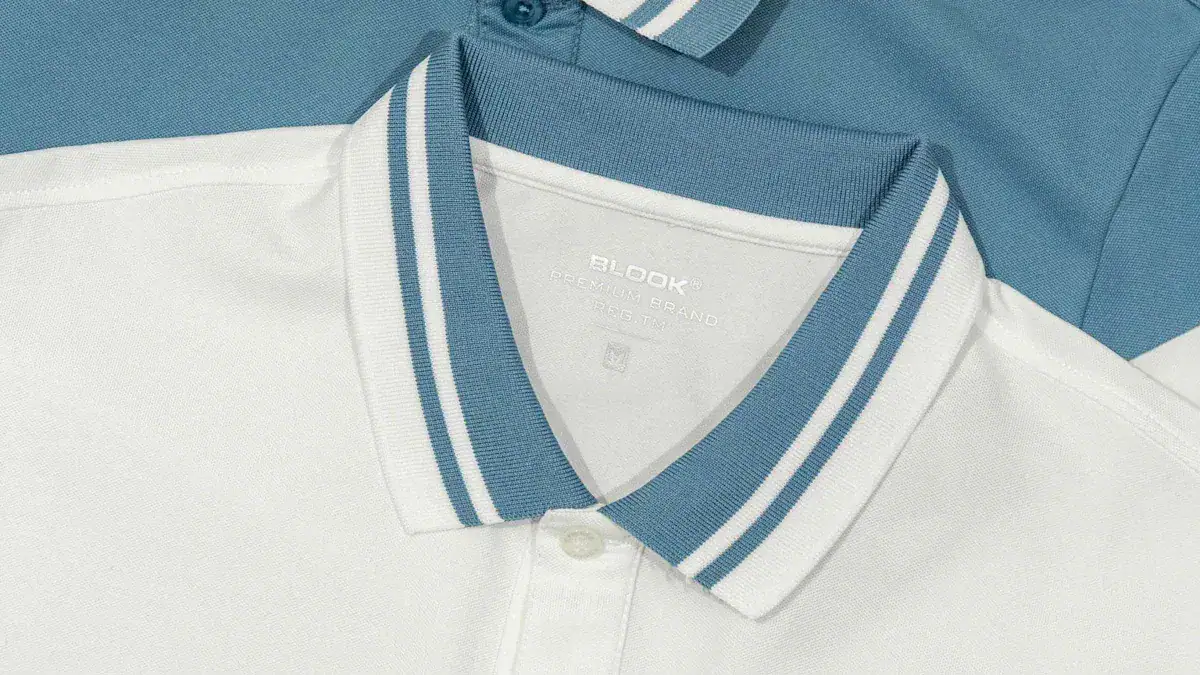
A structured collar gives my polo a polished, professional look. Some polos have button-down collars for extra style, while others use soft, ribbed collars for comfort.
Sleeve
I choose between short sleeves for warm weather or long sleeves for cooler days. Some brands offer sleeveless options for maximum breathability during sports.
Moisture-Wicking
Moisture-wicking technology is a game-changer. These shirts pull sweat away from my skin, keeping me dry and comfortable. I find this feature essential for sports, outdoor work, or any active setting.
Feature | Benefit | Ideal Use |
|---|---|---|
Moisture-Wicking | Keeps me dry and cool, reduces odor, quick-drying | Sports, outdoor, uniforms |
UV Protection | Shields skin from sun, prevents overheating | Outdoor work, events |
Stretch | Improves mobility and comfort | Active wear, sports |
Note: I always match features to the shirt’s purpose. For example, I pick moisture-wicking and UV protection for outdoor teams, while I choose soft cotton for office uniforms.
By focusing on fabric, fit, and features, I make sure my custom polo shirts look great and feel comfortable for every occasion. This careful selection process helps me create shirts that people love to wear—whether on the field, in the office, or at a special event.
Polo Shirt Customization
Embroidery
Embroidery stands out as my top choice when I want a premium, long-lasting finish. I use this method to stitch designs directly into the fabric, which gives the shirt a raised, textured look. Embroidery works best on thicker, structured polos and is perfect for professional or team settings.
Logo
When I add a logo using embroidery, I notice the design stays vibrant and intact even after many washes. The threads resist fading, shrinking, and stretching. This makes embroidered logos ideal for corporate uniforms and sportswear. However, embroidery does not handle intricate or photo-realistic logos well. Fine details can get lost in the stitching, and large designs may feel stiff on lightweight shirts.
Aspect | Embroidery Disadvantages | |
|---|---|---|
Appearance | Upscale, dimensional, professional finish | Not ideal for detailed or photo images |
Durability | Withstands years of wear and washing | Can feel stiff on lightweight fabrics |
Color Retention | Thread colors stay vibrant | Limited color blending |
Cost | Great long-term value for small, simple logos | Higher upfront cost for large or complex designs |
Text
I often use embroidery for names, initials, or simple text. The result looks elegant and professional. Embroidered text holds up well over time, making it a smart choice for staff names or team roles. I keep the font bold and avoid tiny letters to ensure clarity.
Tip: Embroidery is my go-to for small logos and text on polos that need to look sharp and last through heavy use.
Heat Transfer
Heat transfer gives me flexibility for detailed, colorful, or custom designs. I use special transfers that bond to the fabric with heat and pressure. This method works well for both cotton and polyester polos.
Multicolor
I choose heat transfer when I want to customize polo shirt with full-color artwork or complex graphics. This technique handles gradients, photos, and fine details better than embroidery or screen printing. It is especially useful for small orders, as setup costs stay low.
Small Designs
Heat transfer excels at small, intricate logos or artwork. The finish feels soft and smooth, blending into the shirt. While not as durable as embroidery, heat transfer holds up well with proper care. I recommend it for fashion polos or custom gifts.
Heat transfer is ideal for:
Detailed, multi-color designs
Small or custom orders
Soft, smooth finishes
Screen Printing
Screen printing is my preferred method for large orders and bold, simple designs. I use thick inks that sit on top of the fabric, creating vibrant prints that last through many washes.
Single Color
Single-color screen printing is cost-effective and fast. I use it for logos, slogans, or team names that need to stand out. The prints look crisp and bold, especially on cotton polos.
Bulk Orders
For events, teams, or company uniforms, I rely on screen printing for its speed and affordability. The more shirts I order, the lower the cost per shirt. Screen printing works best for simple designs and solid colors.
Screen printing offers:
Bright, durable prints
Fast production for bulk orders
Best value for simple, bold artwork
Note: I always match the customization method to the design, order size, and shirt fabric for the best results.
Personalization
Personalization lets me turn a standard polo into something unique and meaningful. When I customize polo shirt for myself or a group, I often choose between adding a monogram or a team name. Both options help create a sense of identity and pride, whether for business, sports, or special events.
Monogram
I love using monograms to add a subtle, sophisticated touch to my polos. A monogram usually features my initials or those of my team members, stitched in a stylish font. This small detail can make a big difference in how the shirt looks and feels. Monograms work well for corporate gifts, staff uniforms, or even personal wardrobe upgrades.
I can select thread colors and placement to match the brand or event theme.
Embroidered monograms last a long time and keep their crisp look after many washes.
When I choose a monogram, I notice people appreciate the extra effort. It shows attention to detail and gives the shirt a higher perceived value. Many professional services offer free setup and quick turnaround, making it easy for me to order personalized polos for my whole team.
Tip: I recommend placing the monogram on the left chest or sleeve for a classic, elegant appearance.
Team Name
Adding a team name transforms a polo shirt into a symbol of unity. I often customize polo shirt for sports teams, clubs, or company departments by featuring the team name prominently. This approach helps everyone feel like part of the group and boosts morale.
Popular personalization options in team and corporate settings include not only logos but also individual names and team positions. I find that using embroidery or high-quality printing methods ensures the design stands out and lasts. Choosing colors and fonts that match the brand or team identity makes the shirts look professional and cohesive.
Personalization Element | Benefit | Best Placement |
|---|---|---|
Team Name | Fosters unity and pride | Across chest, back |
Individual Name | Adds ownership, easy ID | Right chest, sleeve |
Team Position | Clarifies roles, adds detail | Below name, sleeve |
Personalization features like monograms and team names do more than decorate a shirt. They add a durable, professional, and personal element that makes polos suitable for any occasion. I see how these details transform a simple shirt into a valued piece of apparel, perfect for corporate events, team uniforms, or thoughtful gifts.
How to Customize Polo Shirt
Customizing a polo shirt has never been easier thanks to modern online design tools. I often use these platforms to bring my ideas to life, whether I want a shirt for my business, team, or personal use. These tools guide me through each step, from uploading my logo to previewing the final design. I find that following a clear process helps me achieve the best results.
Online Design Tools
Online design studios make it simple for me to customize polo shirt designs without any graphic design experience. I can experiment with different looks and see instant previews before placing an order. Here’s how I usually approach the process:
Upload Logo
I start by selecting a polo shirt from the online catalog. After choosing the style and color, I click “Start Designing.” The next step is to upload my artwork or logo. Most platforms accept common file types like PNG, JPG, or SVG. I can adjust the size and placement of my logo, usually on the left or right chest, back, sleeves, or even the collar. Some tools let me add personalized names for each shirt, which is perfect for teams or staff uniforms.
Add Text
Once my logo is in place, I add text if needed. I type in names, slogans, or messages using the tool’s text editor. I can choose from a variety of fonts, sizes, and colors. I always make sure the text stands out against the shirt color for maximum visibility. Many platforms offer a library of clip art and design elements, so I can further personalize my shirt.
Preview Design
Before finalizing my order, I use the preview feature to see how my design will look on a real shirt. Some tools provide 3D previews or mockups from different angles. This step helps me catch any mistakes and make adjustments. I can export the final design as a high-resolution image or share a link with my team for feedback. When I am satisfied, I proceed to select the customization method, such as embroidery or screen printing, based on my needs.
Tip: I always double-check the preview for spelling errors, logo placement, and color contrast. A careful review saves time and ensures I get exactly what I want.
Here’s a quick comparison of popular online design tools I have tried:
Tool Name | User Experience Highlights | Key Features & Limitations |
|---|---|---|
ImprintNext | Intuitive, no learning curve, suitable for non-designers | 3D previews, supplier catalog integration, order management, kiosk app, advanced design options |
InkXE | Easy to use, embedded in print shop websites | Color/font/image options, online storefront design studio |
Placeit | Realistic mockups, real-time design updates | Hundreds of templates, upload artwork, charges for downloads or subscription |
Printful | Integrated print-on-demand, easy for small businesses | Free mockups, limited advanced design features, hidden costs for premium images |
Canva | Template-based, drag-and-drop, beginner-friendly | Large template library, limited advanced editing, watermarks on free version |
I choose the tool that matches my skill level and project needs. For quick, simple designs, I prefer beginner-friendly platforms. For more advanced customization, I use tools with 3D previews and detailed editing options.
Design Tips
Creating an effective custom polo shirt goes beyond just adding a logo. I follow a few key principles to make sure my designs look professional and stand out.
Simplicity
I have learned that simplicity is powerful. Clean lines and minimalist elements make my design easy to recognize and remember. I avoid cluttering the shirt with too many graphics or complicated patterns. Simple designs with bold, recognizable graphics and clear typography always catch the eye. When I keep things simple, my message stays clear, and the shirt looks stylish on everyone.
I use solid colors or subtle patterns for a modern look.
I avoid overly elaborate fonts or visuals that distract from the main message.
I focus on one or two key elements, such as a logo and a short slogan.
Note: Simple designs maintain their impact across different shirt sizes and body types. They also look better after repeated washing and wearing.
Readability
Readability is essential for any custom shirt. I make sure that any text I add is easy to read from a distance. I choose fonts that are bold and straightforward. I also ensure that the text color contrasts well with the shirt color. This makes names, slogans, or team titles stand out.
I avoid using script or decorative fonts for important information.
I keep text short and to the point.
I place text in areas where it will not get lost in seams or folds.
Design Aspect | Recommendations |
|---|---|
Logo Placement | Left chest is most common; ensure color contrast for visibility. |
Font Choice | Use bold, easy-to-read fonts; avoid scripts for main text. |
Color Scheme | Select colors that match your brand or event and provide strong contrast. |
Decoration Method | Embroidery for premium look; printing for larger, colorful designs. |
I always remember that a well-designed polo shirt serves as a branding tool. It enhances professionalism and visibility, whether I wear it at work, on the field, or at an event.
When I customize polo shirt designs, I focus on simplicity and readability. These principles help me create shirts that look great, feel comfortable, and make a lasting impression.
Order Process
Placing an order for custom polo shirts feels straightforward when I follow a clear process. I always appreciate when online retailers make each step easy to understand and support me from start to finish. Here’s how I usually handle my orders:
Select Quantity
I begin by deciding how many shirts I need. Some suppliers allow me to order just one printed polo, which helps when I want a sample or a unique gift. For embroidery, I often see a minimum order of six shirts. This policy keeps costs reasonable for both small and large groups. I like that many companies now offer no-minimum options for printed polos, so I never feel pressured to buy more than I need.
Supplier | Minimum Order Quantity | Setup Fees Details |
|---|---|---|
RushOrderTees | Setup costs apply due to embroidery process | |
RushOrderTees | Single-piece orders allowed for printing | Higher per-unit cost for single prints |
Kavys Customs | Setup fees may apply for embroidery |
Tip: I always check the supplier’s minimums before starting my design. This helps me plan my order and budget.
Approve Design
After selecting the quantity, I move on to the design approval stage. I upload my logo or artwork using the online design studio. Most platforms let me adjust placement, size, and colors. I always review a digital proof or mock-up before finalizing my order. This step gives me a chance to catch any mistakes and make sure the shirt looks exactly how I want.
I find that many companies offer free design help through live chat or phone. If I have questions about colors or embroidery details, I reach out for advice. Once I approve the final design, production begins. I feel confident knowing that the supplier will follow my approved proof.
I recommend taking time to review the digital proof carefully. A quick check now saves time and avoids disappointment later.
Payment
Once I approve the design, I complete my order by making payment. Most online retailers accept credit cards and other secure payment methods. I pay upfront, which streamlines the process and ensures my order moves into production right away. Some suppliers offer free logo setup for printed polos, which helps me save on costs. For embroidery, I sometimes see a setup fee due to the complexity of the process.
Many companies provide fast shipping options, including rush delivery for urgent orders. I always check for estimated delivery times before paying, so I know when to expect my shirts.
Order Process Checklist:
Select shirt style and quantity.
Upload and adjust logo or design.
Review and approve digital proof.
Make payment and choose shipping.
Track order until delivery.
By following these steps, I make sure my custom polo shirt order goes smoothly from start to finish. I appreciate suppliers who offer flexibility, clear communication, and fast turnaround—making it easy for me to get the perfect shirts for any occasion.
Delivery Times
Standard Shipping
When I order custom polo shirts, I always check the standard shipping timeline first. Most suppliers in the United States offer a production turnaround of 8 to 15 business days. On average, I receive my shirts in about 10 business days after I approve the design and make payment. Shipping usually happens through UPS Ground, so the delivery time depends on where I live. For example, Rush Order Tees provides free standard shipping, and I usually get my order within 9 to 12 business days. They do not guarantee an exact date, but I find their delivery range reliable.
If I place a large or complex order, the process can take longer. Spreadshirt, for instance, states that embroidered bulk polo shirts may require 3 to 4 weeks from production to delivery. I always factor in these timelines when planning for events or team needs.
Here is a quick overview of typical shipping methods and their delivery times:
Shipping Method | Delivery Time (Days) |
|---|---|
Air Express (DHL, FedEx) | 3 – 7 |
Air Freight + Local | 7 – 12 |
Sea Freight | 20 – 40 |
Most of my orders use standard ground shipping, which falls within the 9 to 15 business day window. I always recommend ordering early to avoid last-minute stress.
Rush Orders
Sometimes I need my custom polo shirts faster. In these cases, I look for rush shipping options. Many suppliers offer expedited delivery, with guaranteed arrival as fast as 2 business days. Some even provide next-day shipping for select products. I have used these services when I face tight deadlines for events or presentations.
However, I notice that rush shipping comes with extra costs. Expedited options can double the shipping charges compared to free standard shipping. I always weigh the urgency against the added expense. Planning ahead helps me avoid these rush fees and keeps my project within budget.
Tip: I always try to finalize my design and place my order early. This way, I save money and avoid the stress of last-minute shipping.
Tracking
After I place my order, I like to track its progress. Most suppliers send me a tracking number once they ship my shirts. I use this number to follow the package through UPS, FedEx, or another carrier. Tracking gives me peace of mind because I know exactly when to expect my delivery.
If I have questions about my order status, I contact customer service. Many companies offer live chat or phone support, which helps me stay updated. I always keep my order confirmation and tracking details handy until my shirts arrive.
Knowing the delivery timeline and tracking my order helps me plan for events, team distributions, or business needs with confidence.
Care Tips
Taking good care of my custom polo shirts helps them look new and last longer. I always pay attention to how I wash, dry, and store shirts with embroidery or prints. Here are my best tips for keeping custom polos in top shape.
Washing
I always start by checking the care label on my polo shirt. This label gives me the best advice for washing and drying. To protect embroidery and prints, I turn my shirts inside out before washing. This simple step reduces friction and keeps designs from fading or peeling.
When I wash embroidered polos, I use cool or lukewarm water—never above 40°C. Hot water can damage threads and cause colors to fade. I pick a mild, color-safe detergent and avoid bleach or strong chemicals. These harsh products can weaken fabric and ruin embroidery. For printed polos, I wash at 30°C and group similar colors together to prevent color bleeding.
If my shirt has heavy embroidery, I sometimes hand wash it with a soft brush, moving gently along the stitch direction. I avoid scrubbing or twisting the fabric. For machine washing, I use a gentle cycle and never overload the washer. This keeps the fabric and designs safe from too much friction.
Tip: I always treat stains right away with a gentle stain remover. I dab the spot instead of rubbing, which helps keep the embroidery and prints intact.
Drying
After washing, I never wring out my polo shirts. Instead, I lay them flat on a clean towel or hang them in a shaded, well-ventilated area. Direct sunlight can fade colors and weaken both fabric and designs. Air drying is my favorite method because it prevents shrinkage and keeps embroidery looking crisp.
If I need to use a dryer, I set it to the lowest heat and place the shirt in a laundry bag. This extra step protects the embroidery from heat and friction. I always remove shirts promptly to avoid over-drying, which can make fabric stiff and damage prints.
Drying Method | Effect on Shirt Quality |
|---|---|
Air Dry (Shade) | Best for color and design |
Low Heat Tumble | Acceptable, but monitor closely |
Direct Sunlight | Causes fading and fabric damage |
Preserving Design
To keep my custom polo shirts looking sharp, I follow a few extra steps. I store shirts folded or on wide, padded hangers to avoid stretching the fabric. I keep them away from direct sunlight and in a cool, dry place. When ironing, I always turn the shirt inside out and use low heat. I never iron directly over embroidery or prints; instead, I place a thin cloth between the iron and the design.
I also avoid wearing backpacks or seat belts that rub against embroidery, as friction can loosen threads. For printed polos, I skip fabric softeners and dry cleaning, which can break down the print over time.
Note: Consistent care—gentle washing, careful drying, and mindful storage—helps my custom polo shirts stay vibrant and comfortable for years.
When I customize polo shirt, I follow these steps for the best results:
I select the right fabric and style for comfort and durability.
I choose colors and design elements that match my needs.
I use online tools to upload logos, add text, and preview the design.
I confirm details with my supplier and approve samples before production.
I follow care instructions to keep my shirt looking new.
Online design platforms make the process easy and let me experiment with layouts. If I need help, I reach out to professional support for quick solutions. I encourage everyone to start their own custom polo shirt project for business, team, or personal use.
FAQ
How do I choose the best fabric for my custom polo shirt?
I look at the shirt’s purpose. For sports, I pick polyester or performance blends. For everyday wear, I choose cotton. I check if the fabric feels comfortable and matches my activity level.
Can I order just one custom polo shirt?
Yes, I can order a single printed polo from most suppliers. For embroidery, I usually see a minimum order of six shirts. I always check the supplier’s policy before placing my order.
What is the most durable customization method?
I find embroidery lasts the longest. The threads stay vibrant and resist fading after many washes. For heavy use, I always choose embroidery over printing or heat transfer.
Where should I place my logo or design?
I usually put my logo on the left chest for a classic look. For team names, I use the back or across the chest. I use online design tools to preview placement before ordering.
How do I care for my custom polo shirt?
I turn my shirt inside out before washing. I use cool water and mild detergent. I air dry in the shade. I avoid ironing directly on embroidery or prints to keep designs looking new.
Can I use my own artwork for customization?
Yes, I upload my own logo or artwork using online design studios. I make sure my file is high-resolution and in PNG, JPG, or SVG format. I adjust size and placement before finalizing my design.